I have never worked with air dry clay before… Truthfully, I was fully prepared to attempt this, accept that it was a DIY-fail, and decide whether I wanted to splurge on a set of letters on Etsy. However, these DIY air dry clay letters ended up being super fun and quite easy!
While creating the mood board for Harper’s big girl room, I gathered a lot of my inspiration from searching “European kids room”, “English cottage kids room”, and “whimsical kids room” on Pinterest. I kept seeing these beautiful ceramic and air-dry clay letters. They were bubbly, playful and exactly the kind of whimsy I wanted to incorporate into Harper’s room. Below, I’ll share all of the materials I purchased, tools I used, and the steps to complete this project.
This post contains affiliate links. If you purchase through them, I may earn a small commission—at no extra cost to you. I only share things I truly love and use in our home.
Materials
- DAS White Air Dry Modeling Clay
- Acrylic Paints
- Mod Podge Gloss
- Paint Brushes (I used smaller tipped brushes)
- Sponge
- Small Bowl with Water
- Parchment Paper
- Cooling Rack
- Knife
- Glass Cutting Board (optional)
- Measuring Tape
I spent around $30 total for the clay, paints, and Mod Podge. I had everything else on hand.
Shaping The Letters
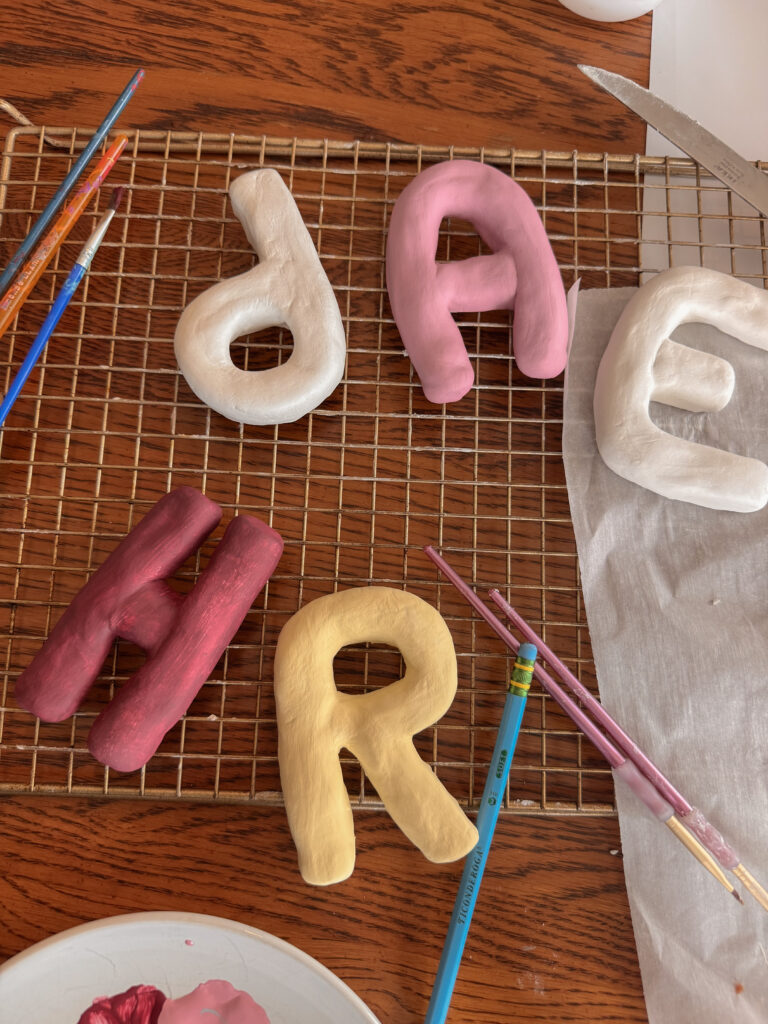
I started by gathering my materials and rolling out some parchment paper to use as my work space. From there, I marked my ideal dimensions on the parchment paper so as I was shaping the letters, I could reference the size and make any necessary adjustments. I chose to keep the letters around 4″ tall. It felt just the right size to make it stand out, but not overwhelming on the wall. *I will note, I eventually placed a glass cutting board over my parchment paper to work off of. It gave me a little more grip, but is completely unnecessary if you don’t have one!*

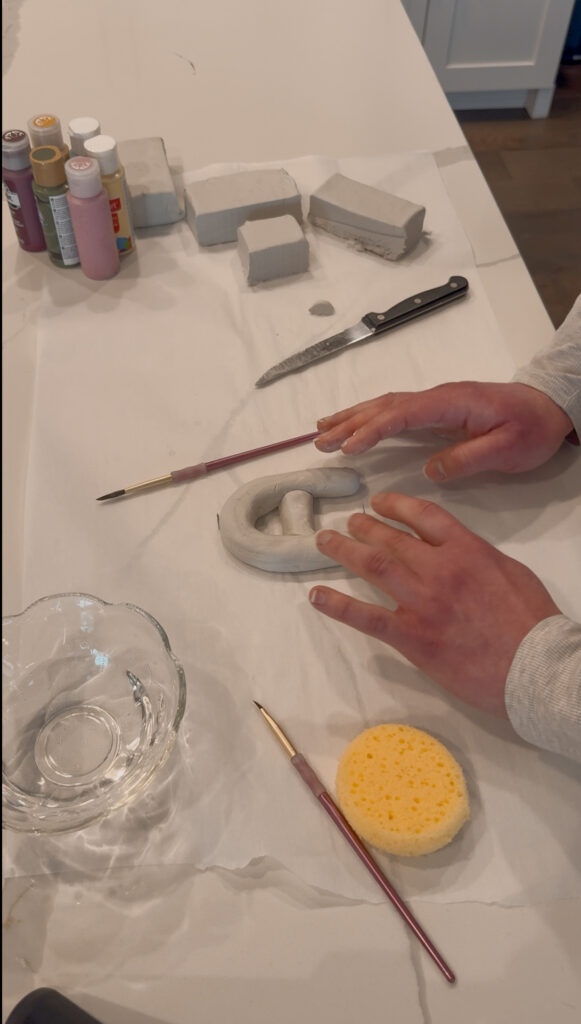
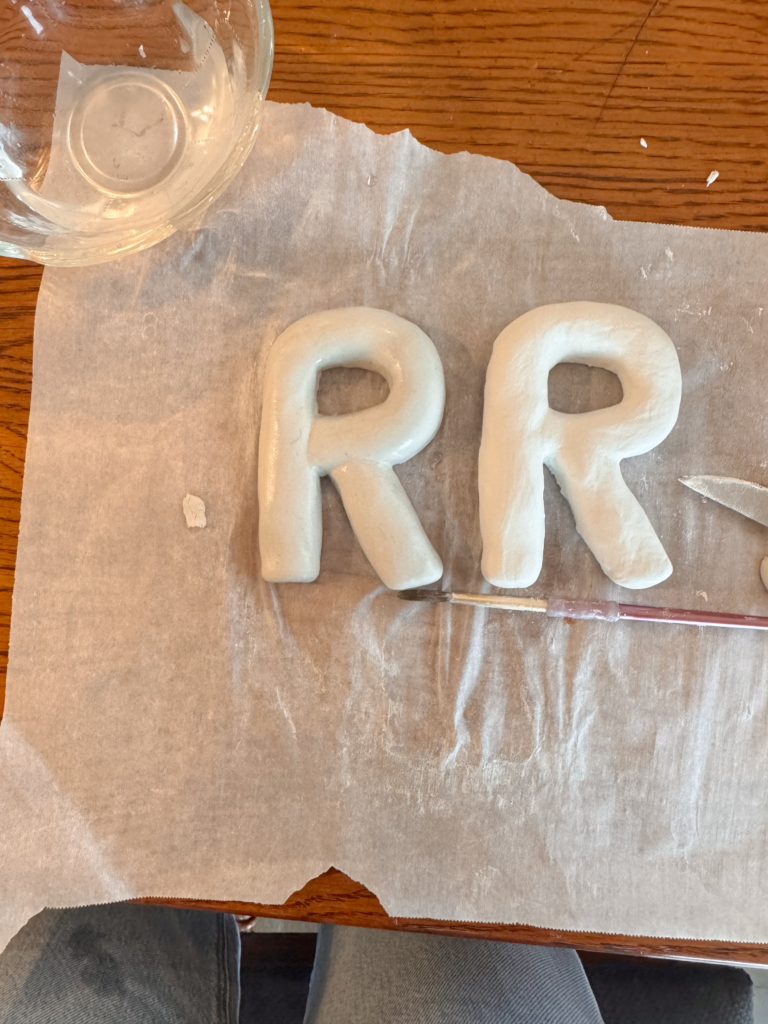
I cut my clay into 8 equal sections. I only needed to make six letters, but I wanted to have extra clay set aside just in case I messed up or needed additional clay for a letter. I began rolling the clay in my hands to warm it up and begin to get that “balloon-like” shape I was looking for. If I needed to attach a piece of clay to another piece, for example, when I made the letter “H”, I’d score the parts of the clay I was trying to attach with a knife. Once scored, I’d wet my fingers and lightly add some water to the spots I scored and begin to work the two pieces together. I applied gentle pressure and lightly dipped my fingers in water and kept working it around the seam until it smoothly adhered.

Once the letter was in its general shape, I’d dip my fingers in water and rub them along the clay to smooth the texture, adjust any imperfections, and refine the shape. In this step, I’d sometimes reach for the sponge, dip that in water, and run it along the shape. I did rely on the paint brushes and a VERY light hand to smooth the clay in narrow spots. This was a DIY I was trying to keep budget-friendly. Since I don’t intend to work with clay often, I didn’t want to go out and buy specific tools that I may not reach for again. However, paint brushes, my hands, and a sponge worked just fine! I used the end of my paint brush to gently put 1-2 small holes in the back of each letter to hang on the wall.
While this may be an easy DIY, it does require some patience. Shaping the letters takes some time. I completed three letters on day one and the remaining three letters on day two. I spent about 2 hours on each of those two days letter shaping. It was quite relaxing. I put on my favorite playlist and got to work!
Drying
I moved the letters to a cooling rack to dry for 72 hours. I did some research and you could potentially paint them after 48 hours if they felt hardened. However, I played it safe and waited 3+ days before painting them. The cooling rack allows air to reach them on all sides. I imagine if they were laying on the parchment paper the whole time, they’d likely need more time to harden completely.
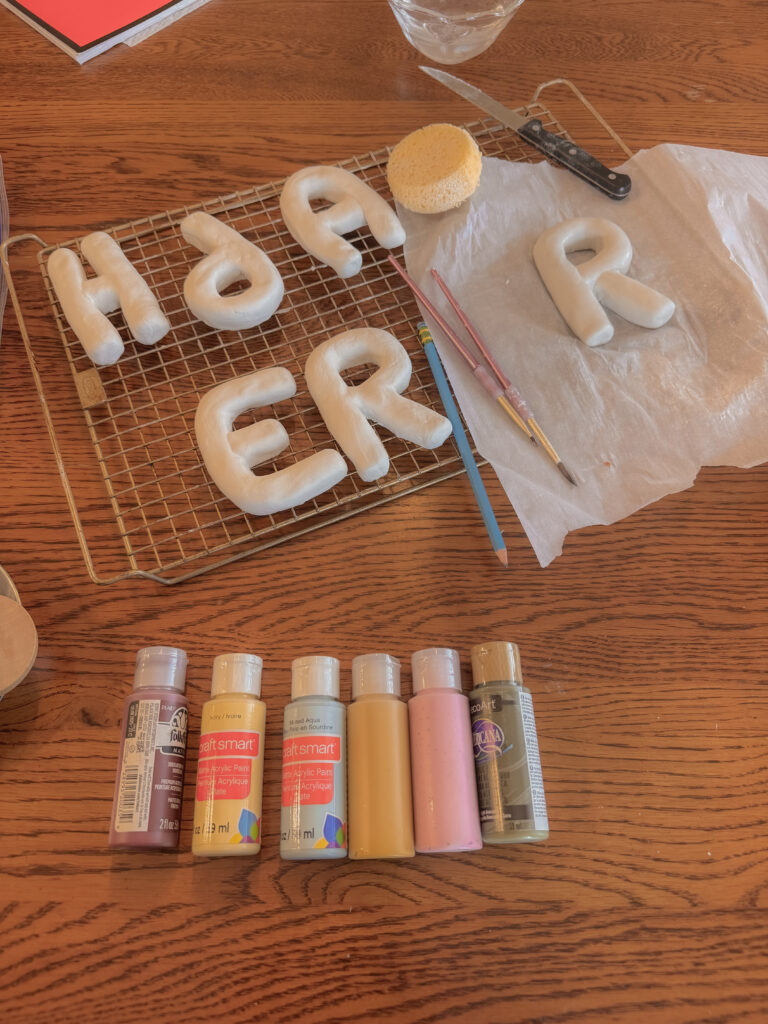
Painting and Glazing
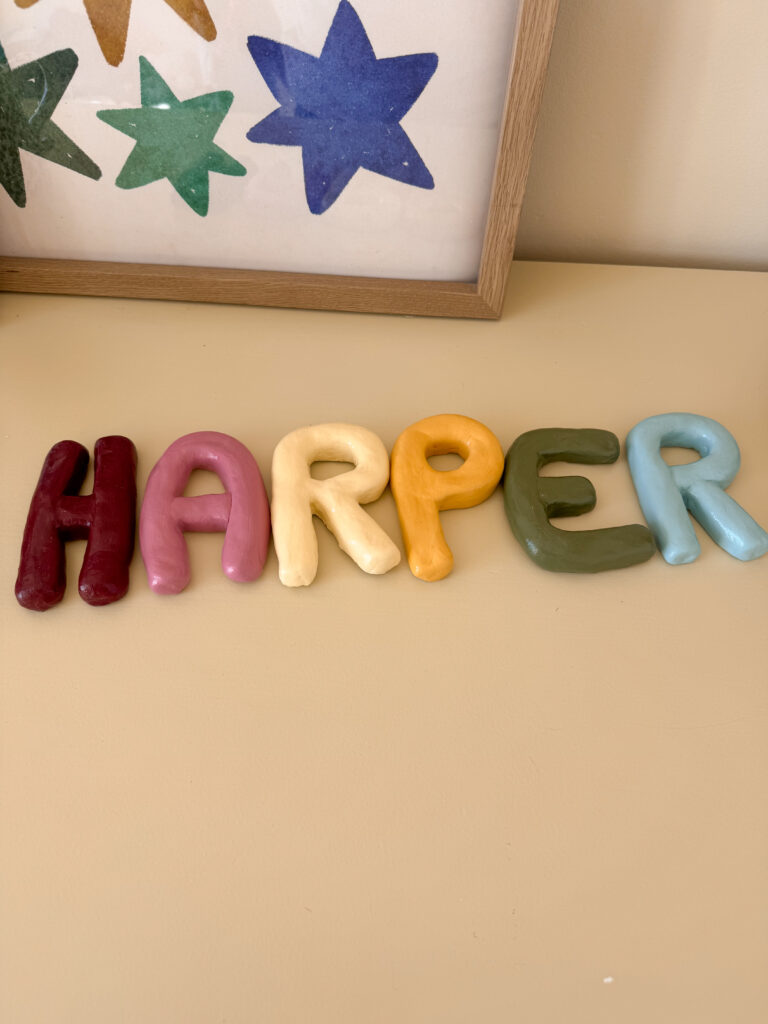
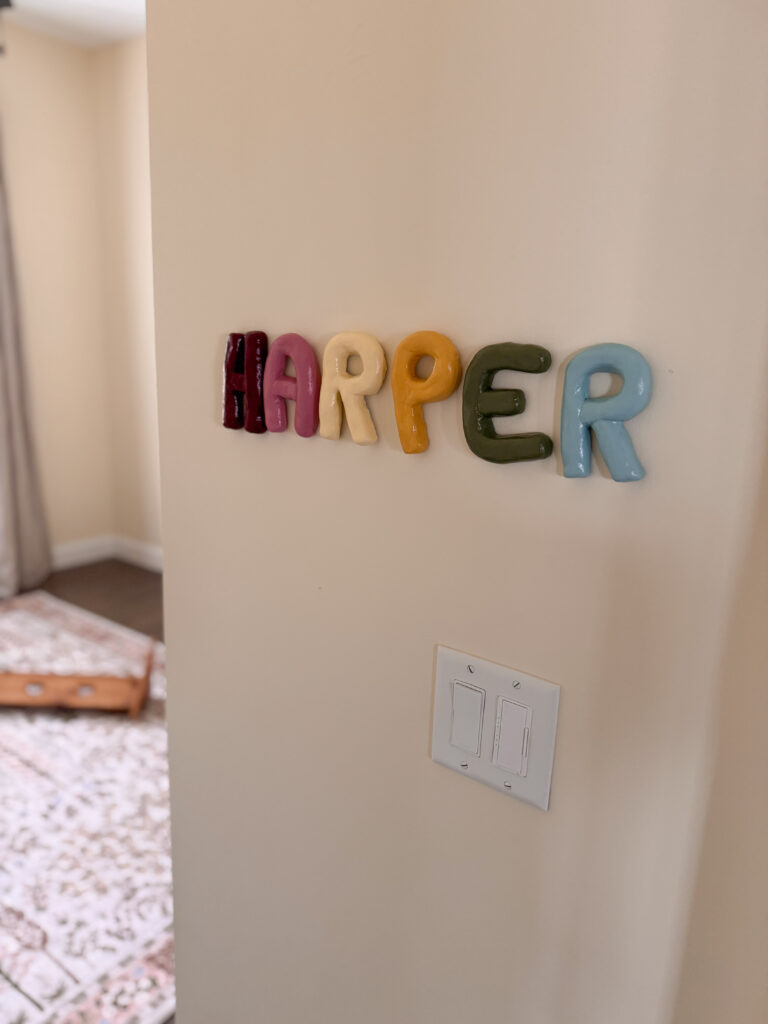
Painting the letters didn’t take too long, probably 2 hours. I did 3 thin coats of paint, allowing each coat to dry completely before applying the next coat. The paint dries quickly on the clay so it was about 30-ish minutes between each coat. I found that the wine color was the most difficult to get an even coat. Later that evening, I applied the Mod Podge glaze. To achieve the shiny appearance, I used the “gloss” Mod Podge. I applied three coats of the Mod Podge, allowing each coat to dry in-between (about 30 or so minutes to dry between coats).
Final Product
I’m so happy with how this DIY turned out! The little imperfections make them even more special. Truly, this DIY is doable for even the most novice crafter- as long as you’re patient!
It’s funny how something so simple can hold so much meaning. I hope one day she’ll look back and remember these small pieces of her childhood—the ones made with love, tucked into a space made just for her. Let me know if you have any questions! I hope if you decide to attempt this DIY, you’ll love it too!
-Cayla