A few weeks ago, I came to my husband with this brilliant idea to build a mud kitchen for the kids. I had seen mud kitchen kits online and at the store, but they seemed so expensive for what little they actually were! Not to mention, my kids are pretty tall and most standard mud kits do not accommodate their size. My husband should’ve known… when an idea comes to mind I’m not going to let it go, so we began planning the DIY mud kitchen!
Why Every Backyard Needs a Mud Kitchen
A mud kitchen creates a designated space in the yard for kids to be messy and creative. And let’s face it, as much as I want to be the type of mom that lets her kids express their creativity in a messy way, it is sometimes hard for me to do. It gives them the freedom to be messy and me the ability to hose it off once they’re finished. Messiness aside, I love the outdoor sensory and open-ended play that comes from it. I want to get back to the basics this summer with my kids- no screens, fancy toys, or constant streams of entertainment. Just some imagination, water, and the space to watch it all come to life.
If you have the ability to give this your undivided attention, you could easily finish this project in a weekend. We worked on it over the course of a week: framed it on a Sunday afternoon, finished installing the counter and panels Monday night, I popped into the garage and stained it when I had a little time Tuesday-Friday, and wrapped up the finishing details on Saturday. Below, I’ll share everything we purchased, how we put it together, and things we would’ve done differently.
A quick note before we begin: Some of the links in this post may be affiliate links. If you choose to make a purchase through one of them, I may earn a small commission at no extra cost to you. Your support helps keep The Everyday Reverie running, and I’m so grateful you’re here. As always, I only share products I genuinely love, use, or would recommend to a friend.
Supply List
Lumber:
- (7) 2x2x8′ Boards (frame, legs, supports)
- (20) 5 1/2″x6′ Cedar Fence Pickets *We didn’t need all 20, but it was nice to have extra on hand in case we messed a cut up**
- For countertop, lower shelf, upper shelf, back panel, and framing trim pieces
Hardware:
- 2 1/2″ Exterior Wood Screws
- 2″ Exterior Wood Screws
Tools:
- Circular saw
- Drill
- Bar Clamps
- Water resistant wood glue
- tape measure
- Miter saw
- 2″ cheap paint brush
- Old rag or t-shirt
Accessories:
- Sink (I used a thrifted 15 3/4″ outer rim stainless steel bowl)
- Beverage dispenser (to fill the sink)
- E-6000 or equivalent super glue
- flat glass marbles
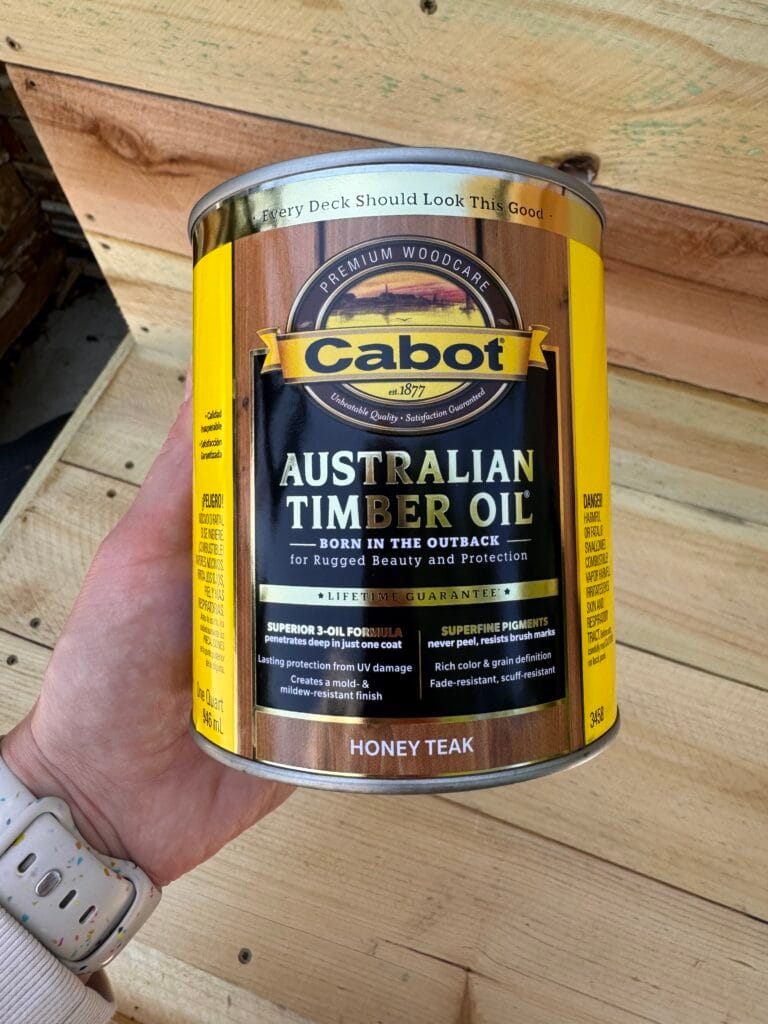
- Stain and seal (I used this Cabot stain and seal) *If you plan to do two coats, purchase a gallon*
- bowls, cups, utensils, etc.
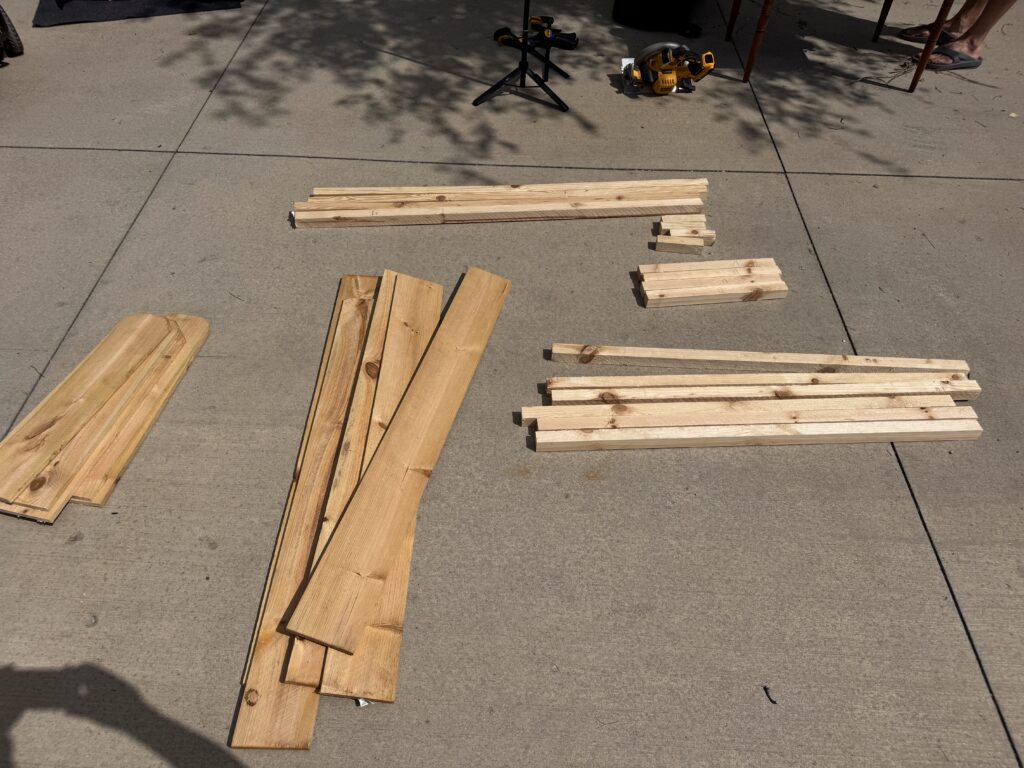
Cut List:
2×2 Boards
- (10) 17″ underside supports for counter and bottom shelf
- (4) 17″ counter and bottom shelf supports (sides)
- (4) 45″ counter and bottom shelf supports (front/back)
- (1) 45″ horizontal support for back panels
- (2) 54″ back legs
- (2) 29″ front legs
- (4) 6″ lower leg supports
- (3) 24″ vertical supports for back panels
5 1/2″ x 6′ Cedar Fence Pickets
- (4) 20 1/2″ for trim pieces on sides of counter and bottom shelf
- (5) 48″ back panels
- (3) 48″ counter top
- (3) 48″ bottom shelf
- (1) 48″ upper shelf
- (2) 48″ front trim pieces on counter and bottom shelf
Constructing The DIY Mud Kitchen
*First things first, if you do not have a circular saw and miter saw to make these cuts at home, ask the home improvement store you intend to purchase lumber from if they can make these cuts for you. Many do, sometimes free, sometimes with a small fee, but always ask ahead of time!*
*I also want to note, we built this to accommodate the size of our children. You could easily tweak these measurements to make it the size that works best for you.
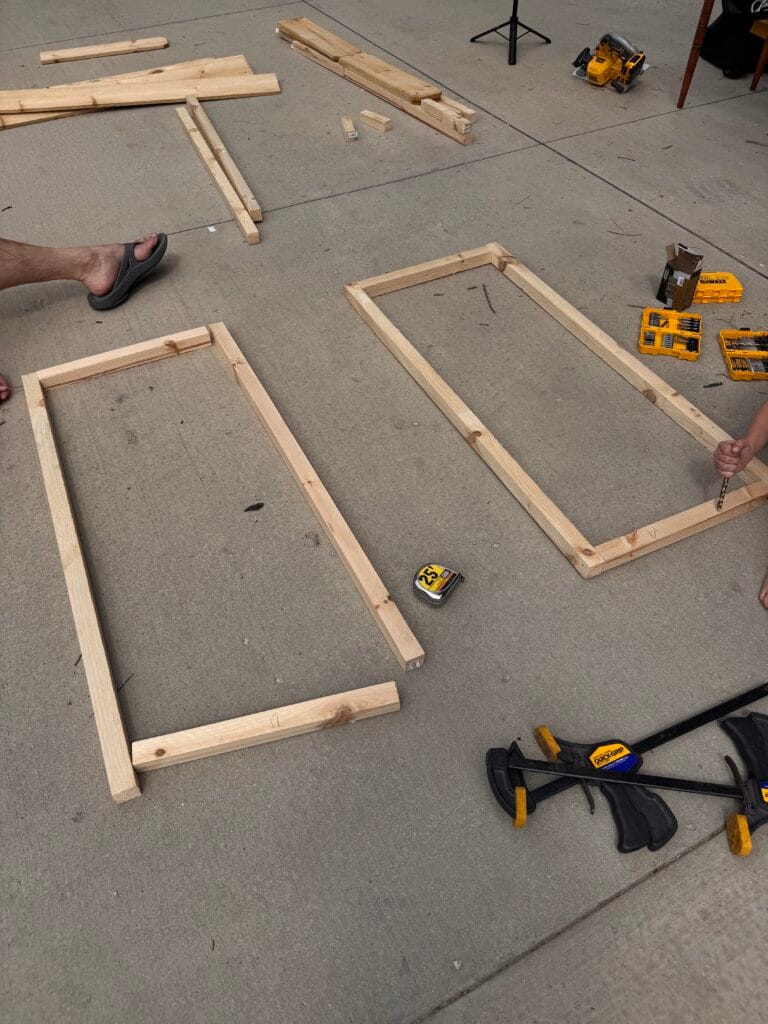
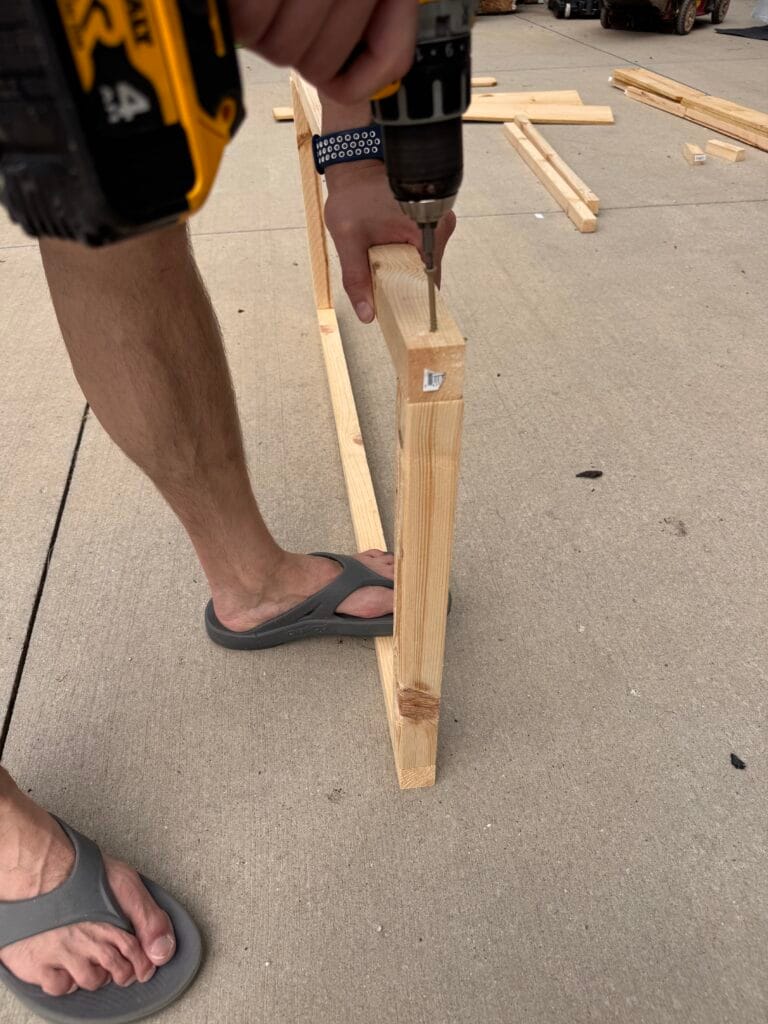
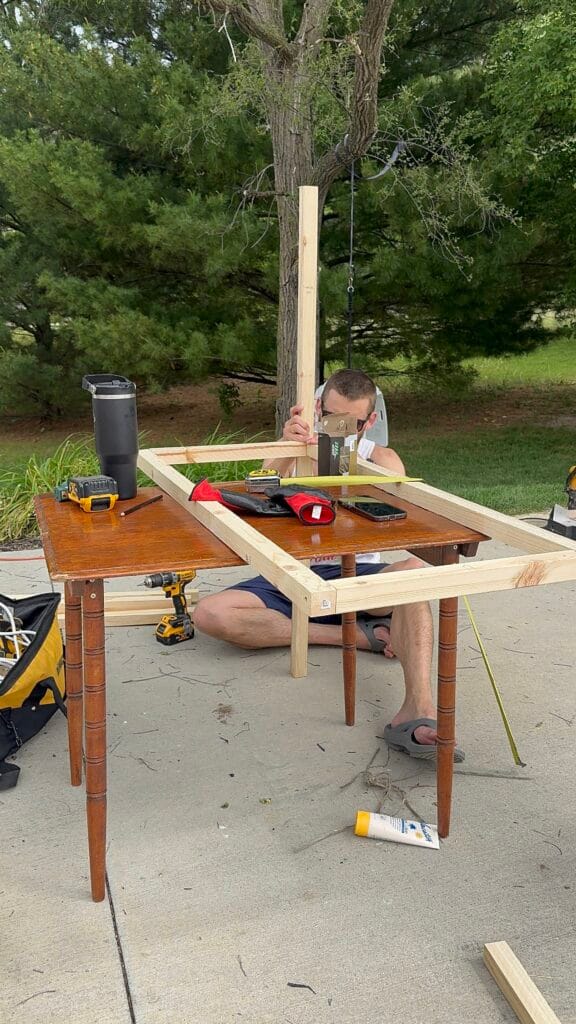
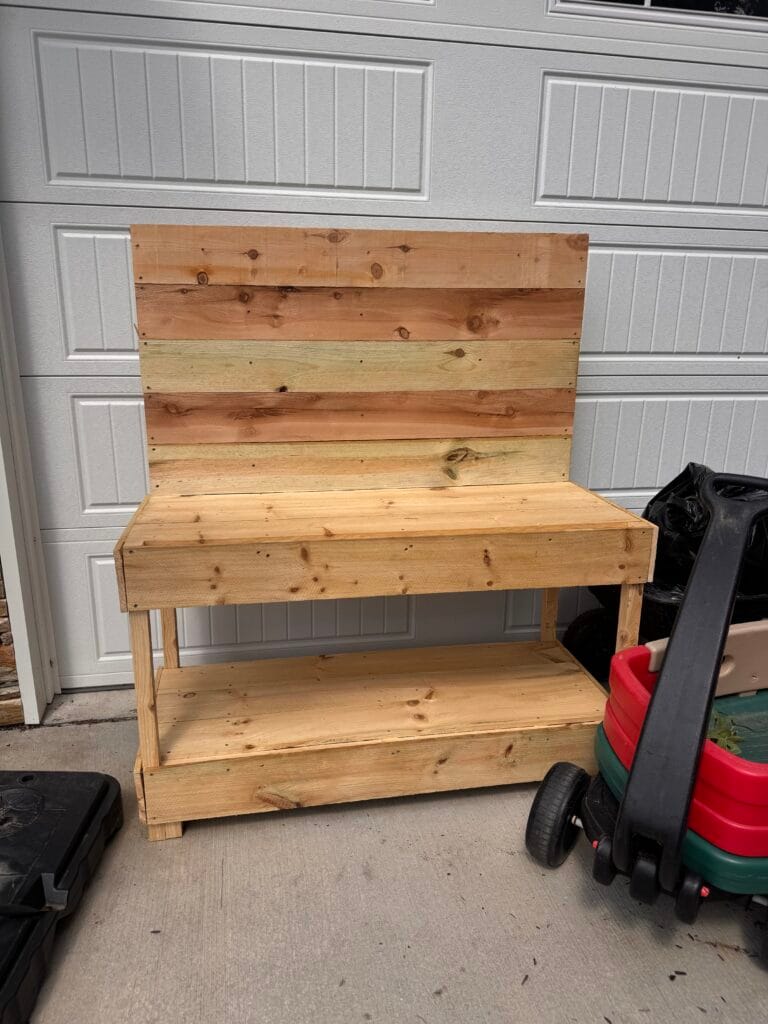
Framing
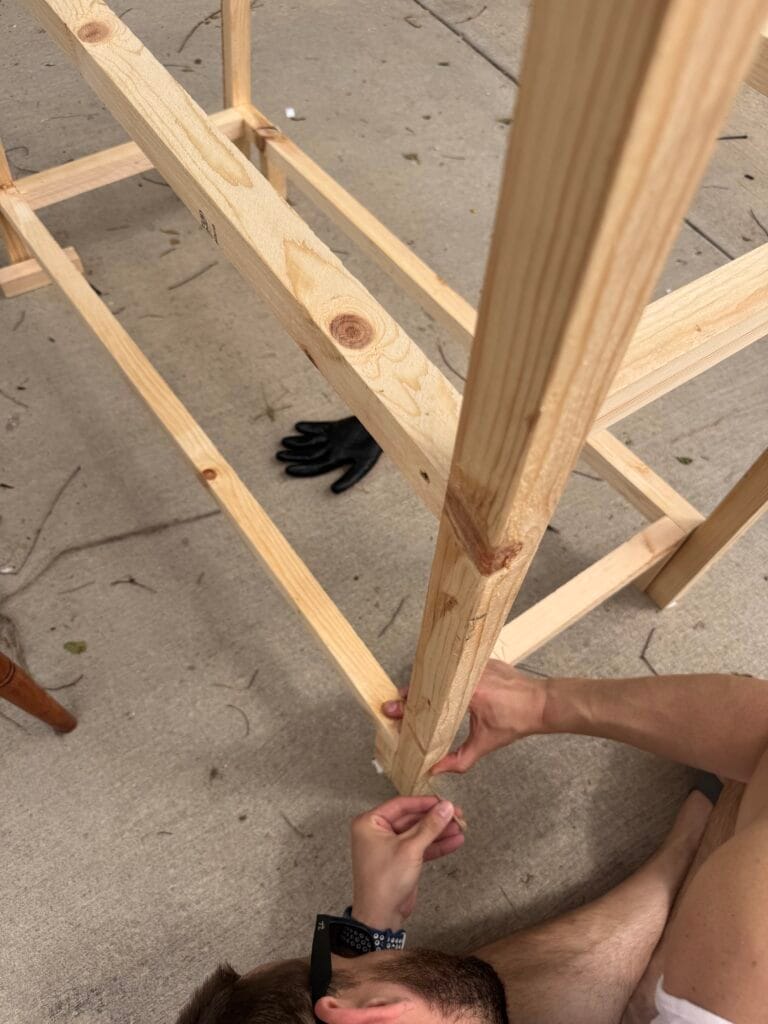
We began by framing the counter top and bottom shelf with the 2×2’s we cut. Next, we screwed the legs to the four corners of the counter frame (54″ on the back sides and 29″ on the front sides). Once that was completed, we attached the 6″ 2×2 leg supports to the inside of each leg at the base of the table. The bottom shelf framing will sit nicely on top of these leg supports. Screw the shelf frame to outer legs and to the inner supports (we want this nice and secure!). Lastly, attach (1) 48″ 2×2 at the top between the back legs to frame out where the back paneling will go.
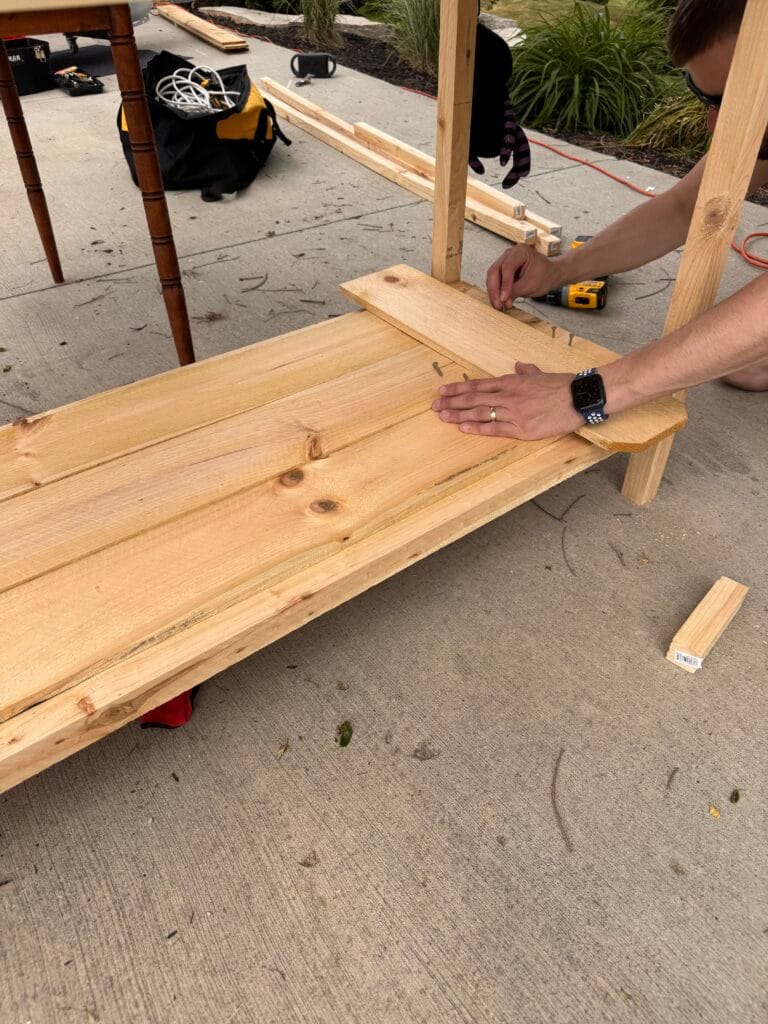
Shelves and Paneling
Start by attaching your (3) 48″ picket fence pieces to your counter. Once that’s complete, do the same for the bottom shelf with (3) 48″ picket fence pieces.
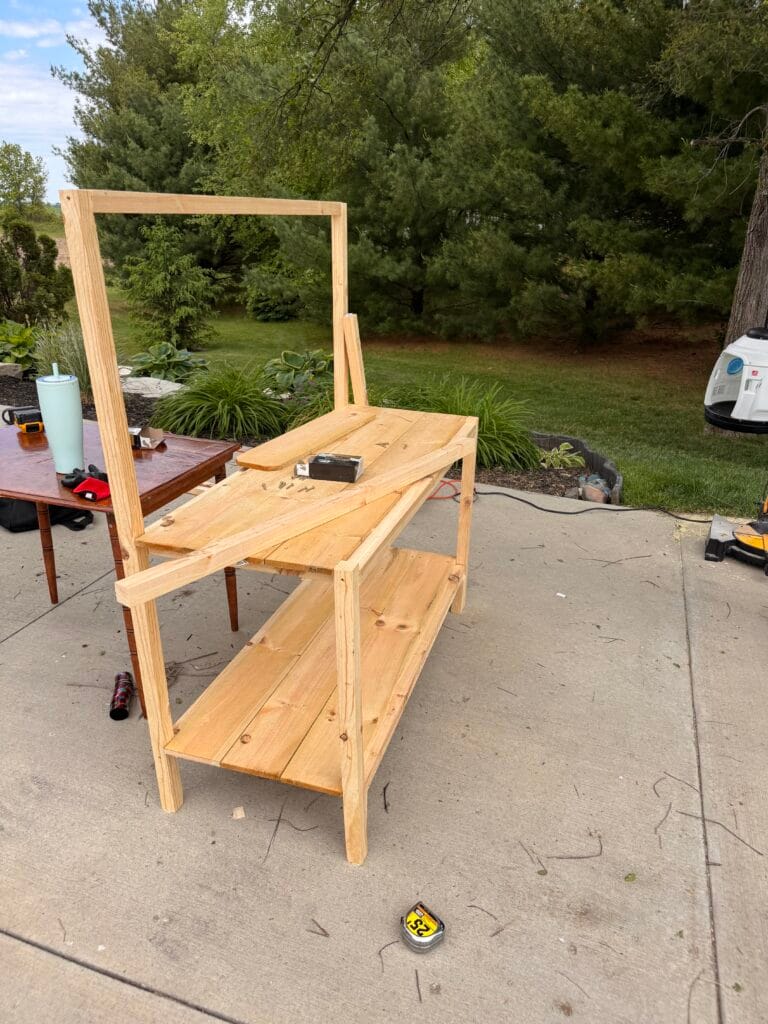
Attach your (5) 48″ picket fence pieces to create the upper panels of the table. Once those are screwed in, take your (3) 24″ 2×2 pieces and evenly space them vertically along the backside of the upper panels. They will fit nicely within the framing. Screw these vertical supports into the upper panels from the front of the table.
Carefully lay the table on its side so you can access the underside of the counter and bottom shelf. Evenly space (5) 17″ 2×2 vertically within the counter framing and screw them in from the top side of the counter. Repeat the same process with the bottom shelf.
Attach a 48″ picket fence piece to the front of the counter to frame it in. Repeat the same on the front of the bottom shelf. Take (2) 20 1/2″ picket fence pieces and screw them into the sides of the counter to frame it in. Again, repeat the same on the bottom shelf.
Lastly, attach a 48″ picket fence piece as your upper shelf. We placed ours just below the top picket fence on the back panel. I attached my shelf after I stained the table, but it could’ve been done before staining. It’s a little high for my youngest, but she will grow into it over the next year or two. This is again, one of those things you can (and should!) customize to your children’s height.
Stain and Seal- DO NOT SKIP!!
Depending on the type of wood you use, you’ll want to stain and seal the mud kitchen. With the time and effort we put into building it, I wanted to ensure that it would hold up over time and the best way for that to happen was to seal it. I chose this stain + seal from Cabot. I wanted a warm, rich color and the convenience of a dual product- no time for extra work!!
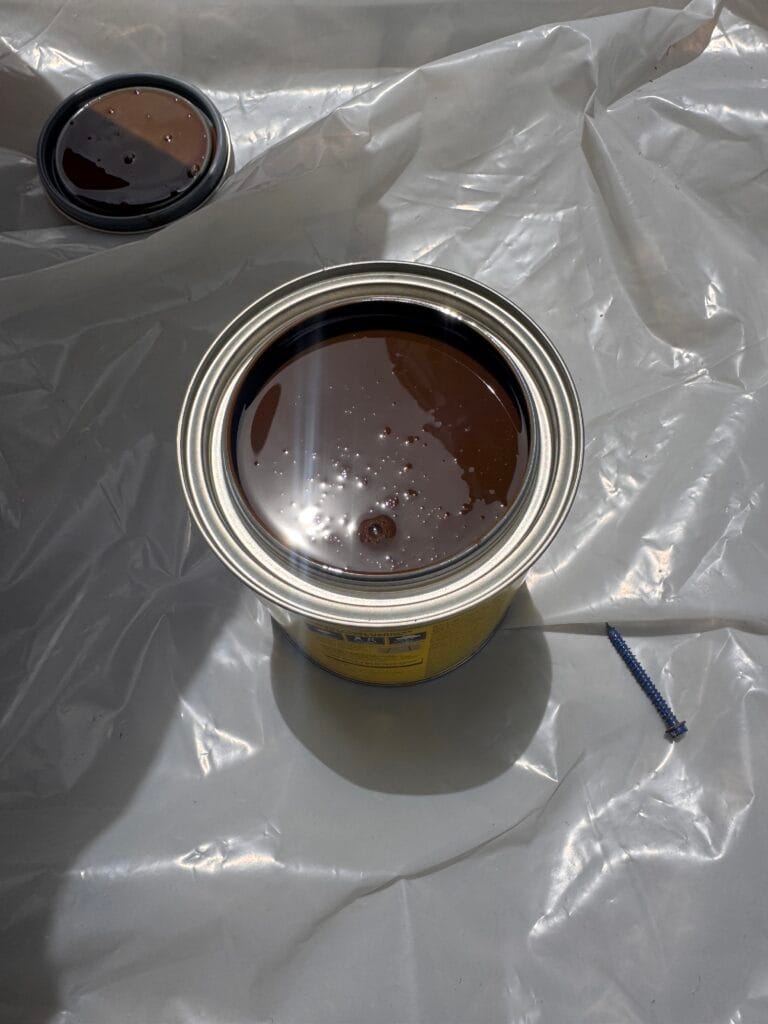
I gave the table a good wipe down with a towel to remove any wood shavings from putting it together. With my super duper cheap 2″ paint brush, I applied the stain to the visible portions of the table and used a cut up old t-shirt to get into spots that were difficult to reach with the brush. Once the visible side was dry, we flipped the table upside down so I could apply the stain/ seal to the underside of the table. I gave the entire table two coats- probably not necessary, but knowing my kids, the extra coat seemed necessary. If you decide to do multiple coats, purchase a gallon of stain- a quart won’t give you two coats. Don’t be like me- find something to sit your project on BEFORE you start staining. What’s that saying? Don’t put the cart before the horse?? haha I am notorious for doing this.
Once the table was stained, my husband made the cut for the sink. I stained the inner rim of the table where the wood was cut from. Do not glue the sink/ bowl whatever you decide to use into the space you cut. When the kids are done playing it’s nice to pop the sink/ bowl out, rinse it out and replace it for the next time they play.
The Fun Details!
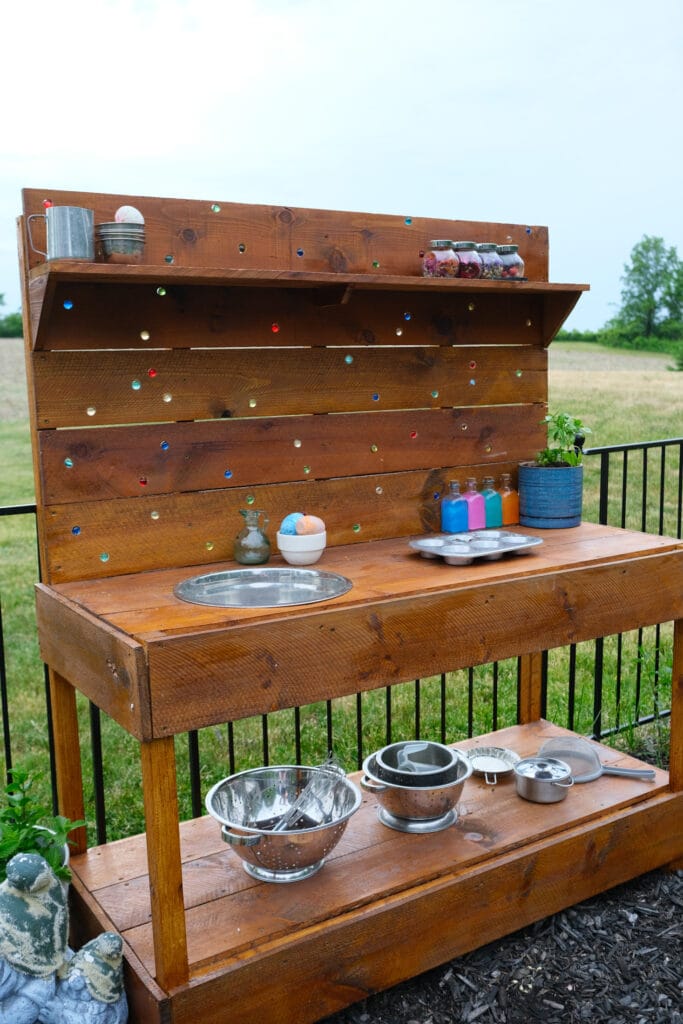
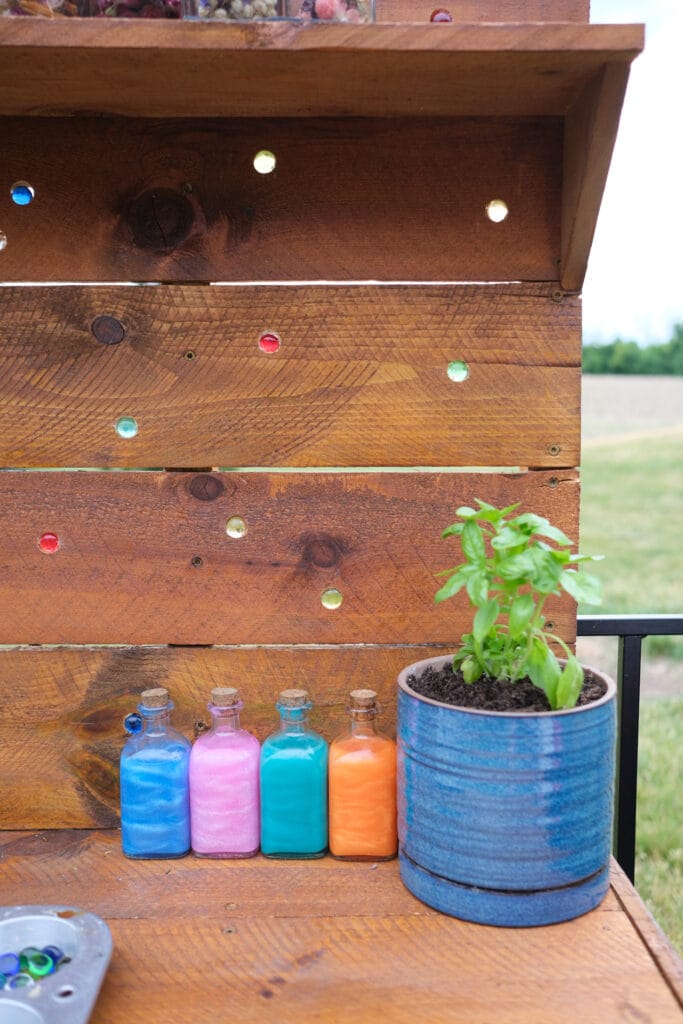
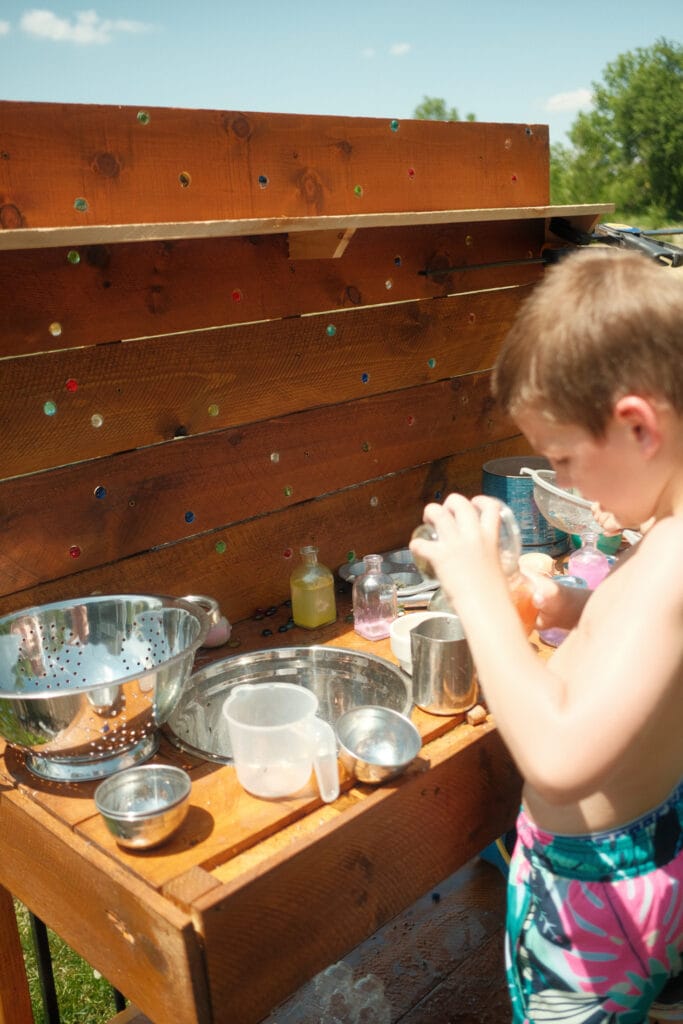
Years ago, I had saved to one of my Pinterest boards pictures of wood fence panels speckled with marbles. I loved how whimsical it felt and thought I could recreate a similar look with this DIY mud kitchen. I took a crayon and marked random spots on the back panels and used a 5/8″ drill bit to drill holes. I purchased some flat glass marbles from Amazon and glued them in with E-6000 glue. I pictured them playing out at the mud kitchen with the sun shining through the marbles- and that’s exactly how it turned out!! It is one of those little details I’m so glad I didn’t skip.

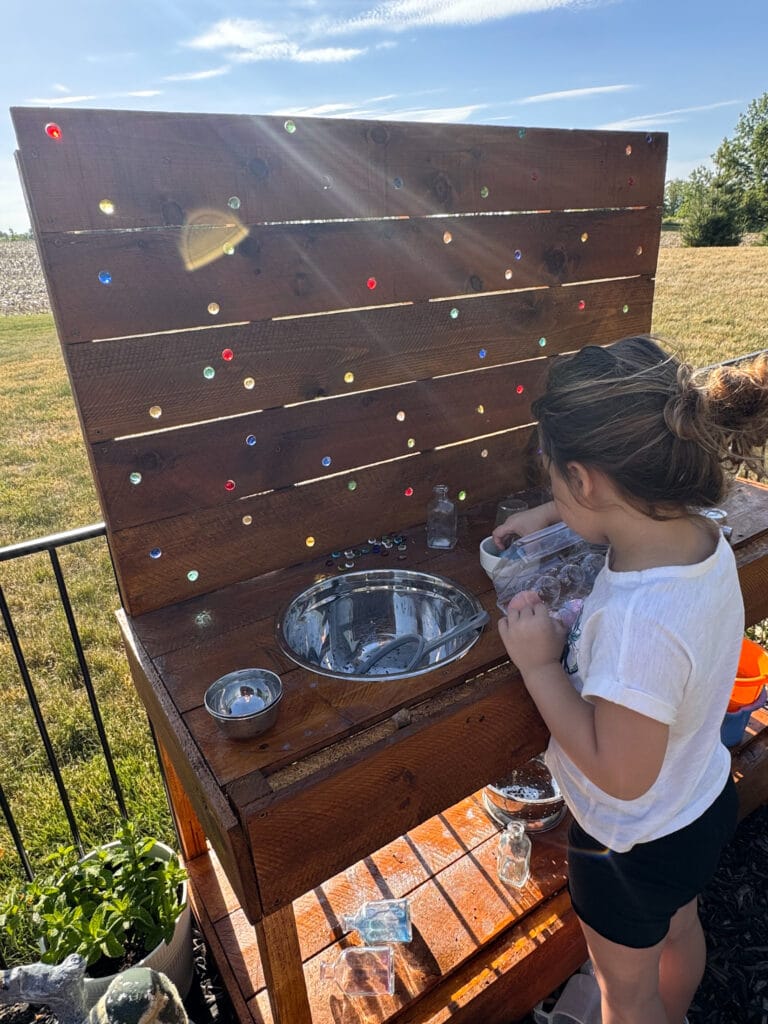
Of course, this project required a trip to my local Goodwill! My goal was to find some cooking utensils, bowls, muffin tins, etc for the kids to use with the kitchen. I felt like I hit the jackpot when I went- I found everything I was looking for and even found a large stainless steel bowl to use as a sink.
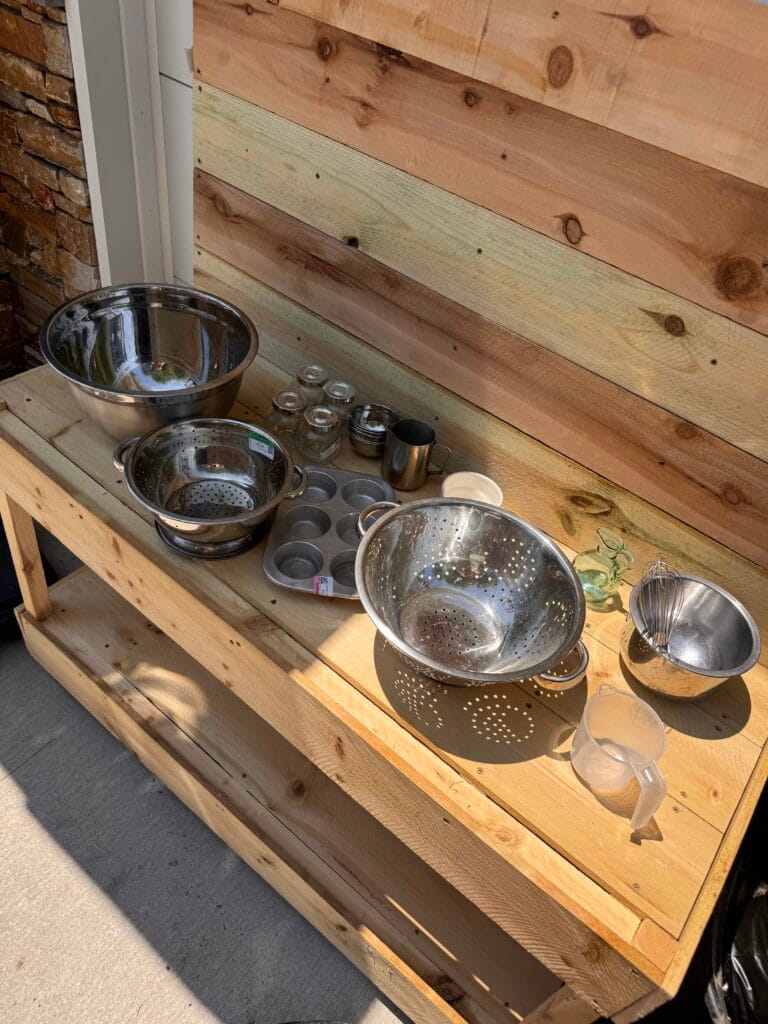
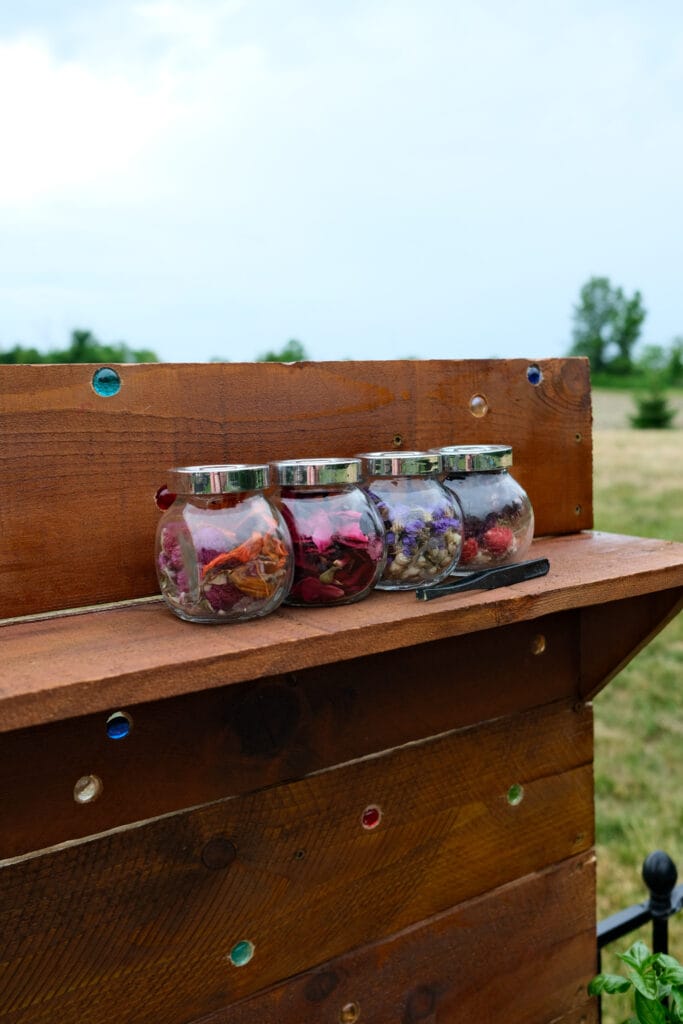
In addition to making mud pies or “stews” as my kids like to call them, I prepped items so they could make glittery water creations. The bottles are filled with water and mica powder (not actual glitter). I put dried flowers in these thrifted seasoning jars to add some extra pizzazz to their creations.
Eventually, I may add some hooks for utensils, but I want to just observe how the kids use the table for now before I make any modifications.
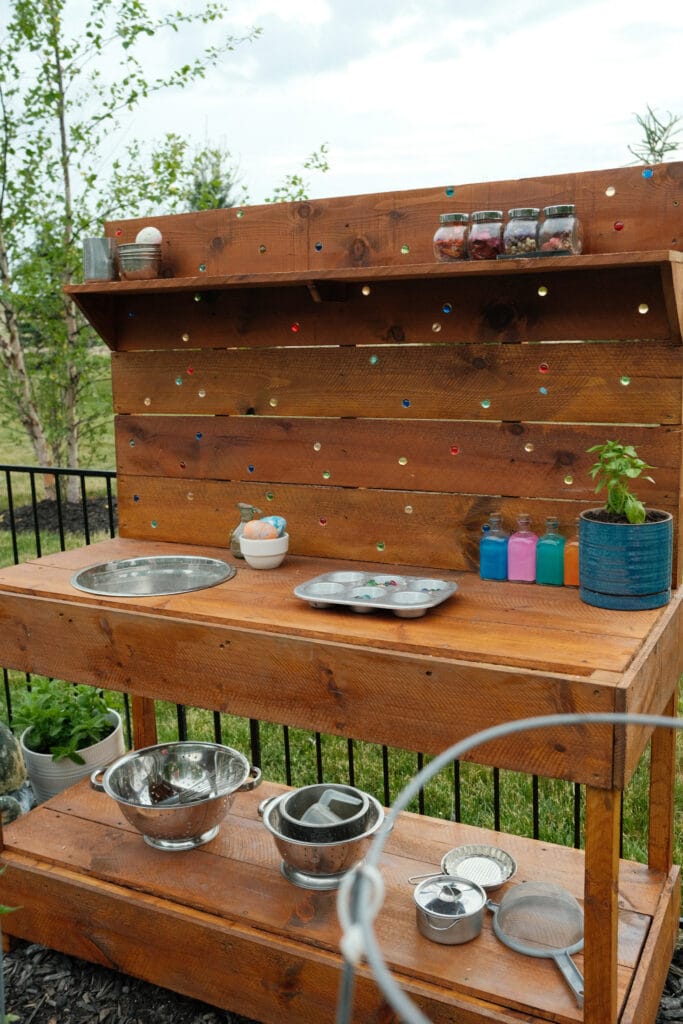
I plan to put a drink dispenser in the left corner next to the sink to use as a water source. I found a cute strawberry shaped one that I think I’ll order. Once it comes, I’ll share in update.
The One Thing I’d Do Different
The only thing I’d do differently is stain all of the wood prior to putting it together to ensure everything is evenly coated. It was hard for me to get in between the wood panels that ran up the back of the table, but if I would’ve stained them ahead of time that wouldn’t have been an issue.
It’s been about a week since we have had the mud kitchen completed and I’m so glad we took the time to build it!! The kids have spent hours out there using their imagination and playing together. No doubt money and time well spent. If you decide to take this weekend project on, I’d love to hear from you! If you have any questions, comment below and I will get back to you. Looking for another fun DIY, check out my Air Dry Clay Letter tutorial HERE.
Leave a Reply